Garden Update

It is the beginning of November.

Temperatures- Highs this week are mid 70’s and lows in the 50’s.

We have very hard well water. The water that goes to our house goes through a softener and is filtered. The hose water comes directly from the well. I have come to the conclusion, new hoses, sprayers, connectors, etc… have to be replaced on a yearly basis because of this.

I got into the garden and replaced all of the irrigation sprayers that were now a year old.

Carrots were planted a little later than I had hoped. I really wanted the seeds in the ground mid-September, but it was more like mid-October. I will plant more every few weeks so they can be pulled at different times.

I am pretty sure this is not broccoli. Some of the tags got mixed up…but I will just let it roll…

All of the cabbage looks great. They take up SO.MUCH.ROOM. I only have about 6 planted…that means only 6 heads to eat. If you think about trying to live off of what you grow, that is not much at all.

Got a little side-tracked making my way around the garden…found this Texas Brown Snake (Storeria dekayi texana). They do not get much bigger than a pencil. They like to eat slugs, snails and other insects.

I was able to grow 1015 onions from seed last year and they did really well, so I am trying again this year. I start the seeds inside mid-summer. It takes about 2-3 months before they get big enough to transplant, and even then they are still small. The most important thing with starting from seed, they need to be watered regularly since the roots are so shallow and it is still warm out. The dirt dries quickly on top.

Last year, I had an excellent crop of tomatoes. At this time, they were covered in fruit. And then…we had a light freeze and I lost ALL of them. 🙁 This year, they are not doing well. I only have 5 plants of tomatoes and they are just now getting blooms on them. I am afraid I will not get any tomatoes this fall.

The peppers were started back in March and are still going strong so I have just left them. I probably need to make pepper jelly with them!

Like broccoli, I do not have much cauliflower growing. I direct sowed a few more seeds, but they are growing pretty slowly.

Eggplant is also going strong and we get about 10 each week (way more than I can eat since I am the only one that likes it).

I was able to harvest about 2 cups of raspberries! This is the thing I am most excited about! Raspberries do not do well this far south (9a). I did some research and found this variety that will tolerate the heat. Unfortunately, I threw away the tag and have no idea what kind they are!

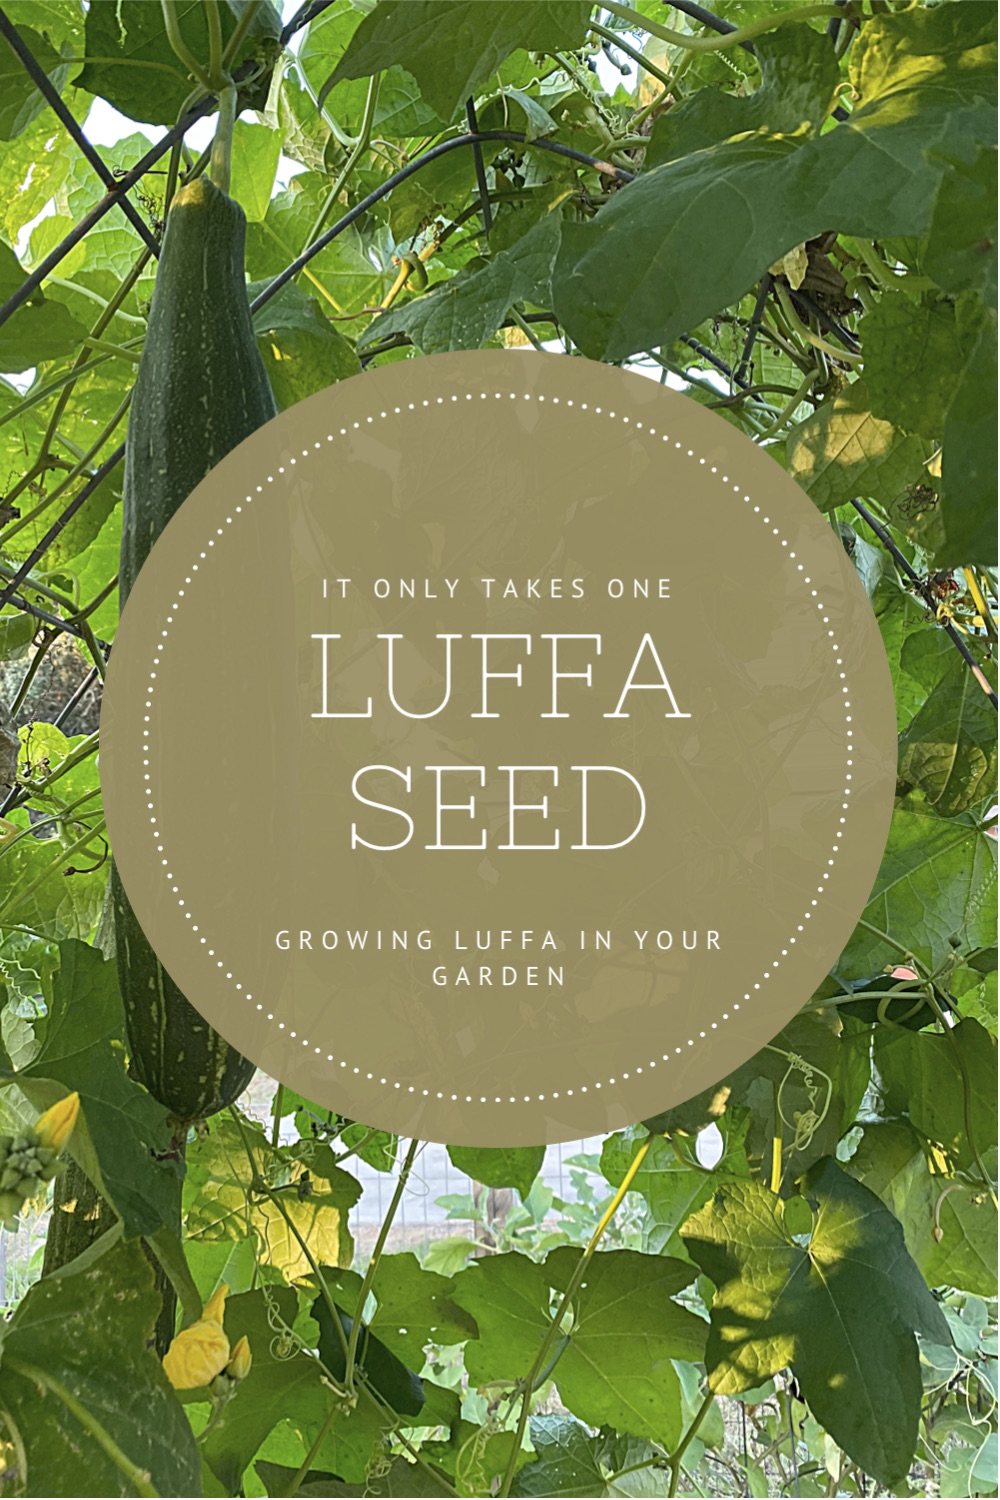
You only need one luffa seed

You only need one luffa seed to feel like a master gardener.

Luffa, sometimes spelled loofah, actually refers to the fruit of the vine. Luffa aegyptiaca is a member of the cucumber (Cucurbitaceae) family. It can be eaten in the young fruit stage, or it can grow big, allowing an intricate network of fibers to form that are commonly used in the kitchen or bathroom as a scrubber sponge.

And you just thought it was a sponge from the ocean!…

This vine is particularly in love with the hot and humid regions of the Gulf Coast areas of Texas. It seems like the hotter it gets mid-August, the more the plant thrives (as long as you water it every once in a while).

The cool thing about luffa, is that it only takes one seed to look like this.

Yep. This was 1 volunteer seed that found its way to this raised garden bed. Luckily, I knew what it was, so I allowed it to stay and grow.

In the morning, the flowers open up to attract pollinators.

In the evenings, the flowers close up and actually fall off.

Do you see the flower buds on this one?

Luffa has a very long growing season. I typically plant mine in March and I do not usually see fruit until July. To save you from having to do the math, that is about 150 days from planting seeds!

Can you spot the long fruit hanging down?

I stumbled across luffa seeds some time ago (like 2004ish). At the time, it was not popular to plant and there was little information about how to germinate them. I did what any good gardener does, I threw it in some dirt, and holy Batman! I can now feed the entire town with the number of seeds I have collected over the years.

Baby luffa

A few things I have learned after growing them for several years:

*Growing luffa in the south is very different than growing in the north. We can basically ignore the plant and it thrives. No babying here.
*Direct sow is the best way to plant. I have yet to transplant luffa successfully.
*Due to the very long growing season, it is more difficult to grow up north.
*One vine will TAKE OVER. Be prepared. It is seriously like Jack and the Beanstalk.
*Bees LOVE the bright colored flowers on luffa.
*You must be patient and let the luffa dry on the vine. Do not pull it up and try to dry it inside. You will get a moldy mess.
*Luffa is pretty bug resistant (except ants seem to love the flowers) and the plant is very forgiving if you forget to water it.

So what do I do with all of the luffa that I grow? Make soap scrubbers of course! Read about that here–> Luffa Sponges

Starting Seeds

For a long time, I thought that seed packets were a money trap. I would venture to say that most people that buy seeds they see at the store, actually have very little yields to show. (At least I was in that category.) It has taken A LOT of reading and learning to figure out how to correctly sow seeds.

It looks like I know what I am doing, right?!?!

I bought the black seed trays, filled them with dirt, threw in some seeds and most of the time they sprouted. I would carefully pull out the seedlings and put them in the garden bed at the right time, and sometimes the plant grew, but most of the time, it did not.

I’ve also planted at all times of the years not paying much attention to what is required of the plant. Being in zone 9a is VERY different than being in zone 7. But this year was different. For the first time I think I finally have a handle on what it means to start from seed.

Seed Starting Medium

I decided to experiment with store bought seed starting soil and making my own. Long story short, it is so much better to make it! (And that is what all the blogs I have read said…)

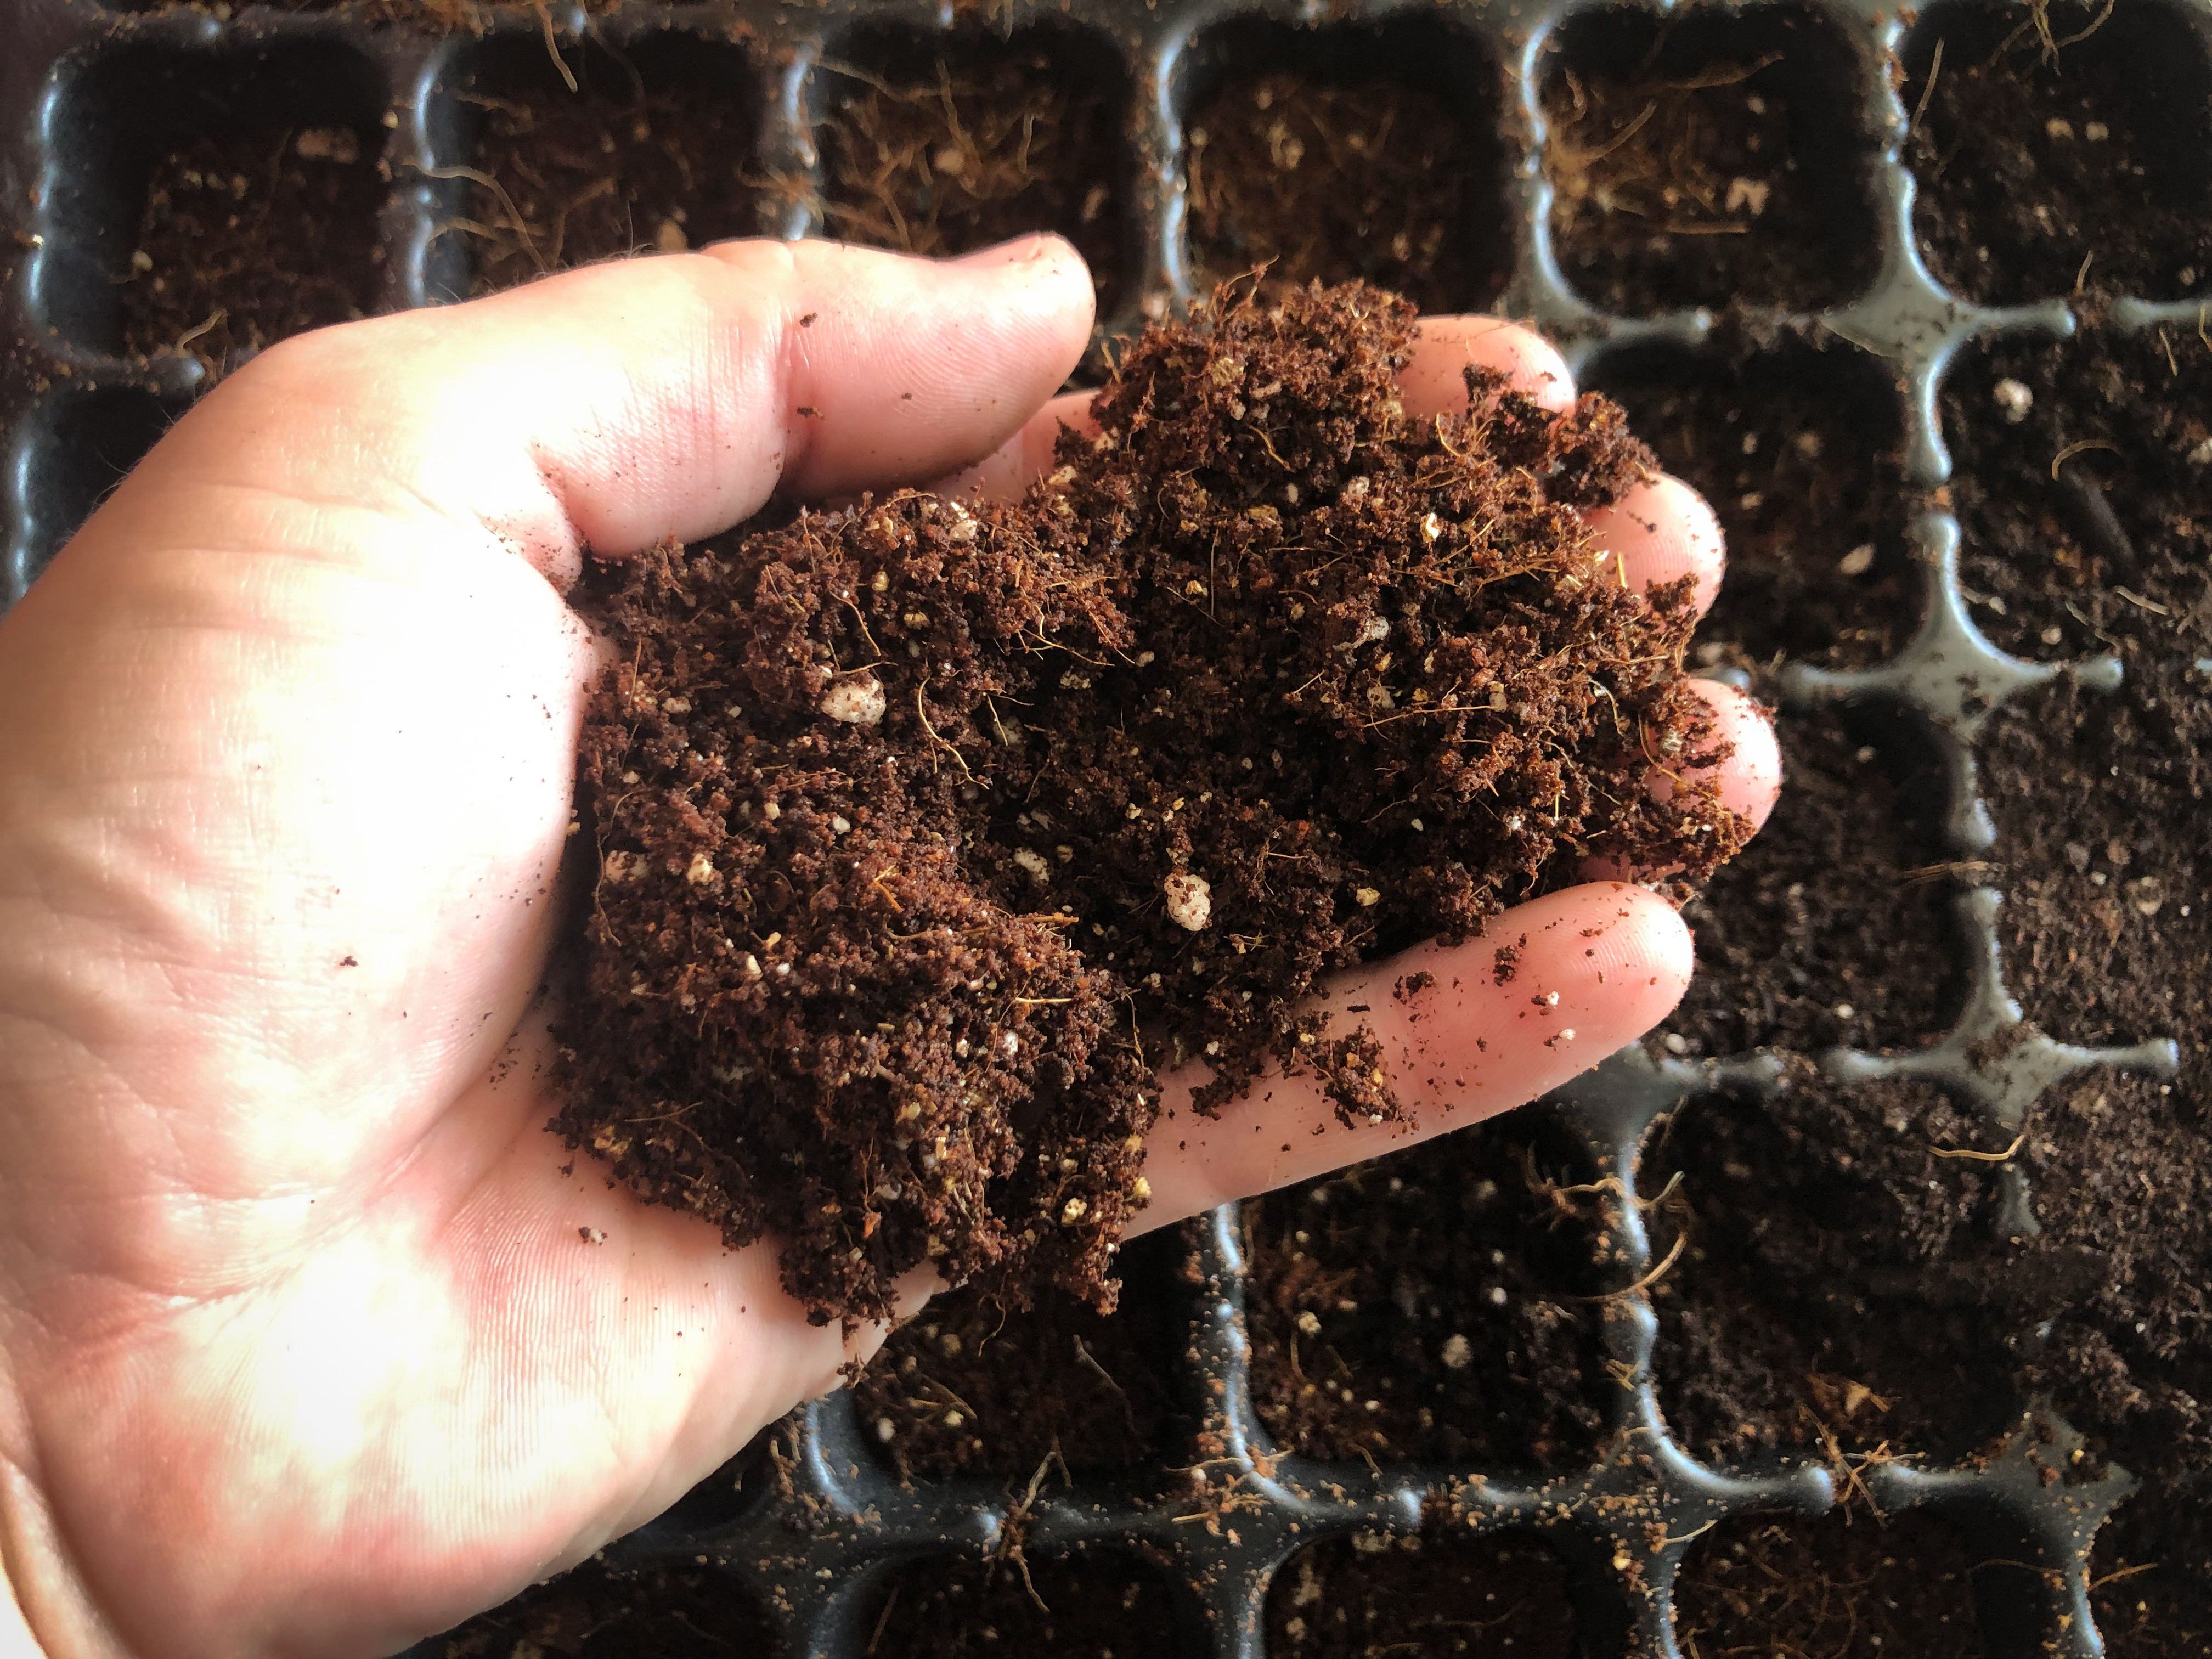
I bought two bags of this seed starting mix for about $24 at a local nursery. It feels wonderful in your hands, like crumbly cake. However, after about two weeks, I noticed a white film growing on the top. Not to mention the price for only 16 quarts, I was only able to fill 4 trays.

At the same time, I made just as much seed starting soil for 4 more trays. Hands down, this is the way to go! I had all of the materials on hand, but this is what I had previously purchased:

8 parts- Coco Coir (~15)–this is my favorite brand of coco coir!!!
1 part- Vermiculite (~$21)
1 part- Perlite (~$17)

I know…$50 seems like a lot of money to start seeds, but I did not even make a dent in these bags. As I mentioned, I already had all of this on hand because I use them when making my own soil or amending soil.

I have a big 2 quart scoop (8 cups). I use that for the coco coir (make sure this is damp before starting), and an 8 ounce cup (free from some restaurant) to measure the one part of perlite and vermiculite. I put the lid on the bucket and shook it up until it was thoroughly mixed.

I just love how this feels! Best of all, 4 weeks later, and their was no fungus growing on the top! Something to note about using this…once the seedlings have their first set of true leaves, you have to add some fertilizer. I use a fish/kelp organic fertilizer that stinks up the ENTIRE garage, but so far has done me well.

Garden Markers

I love my garden markers.

They took some time, and I realized I needed way more than I originally planned, so I have been buying them over time.

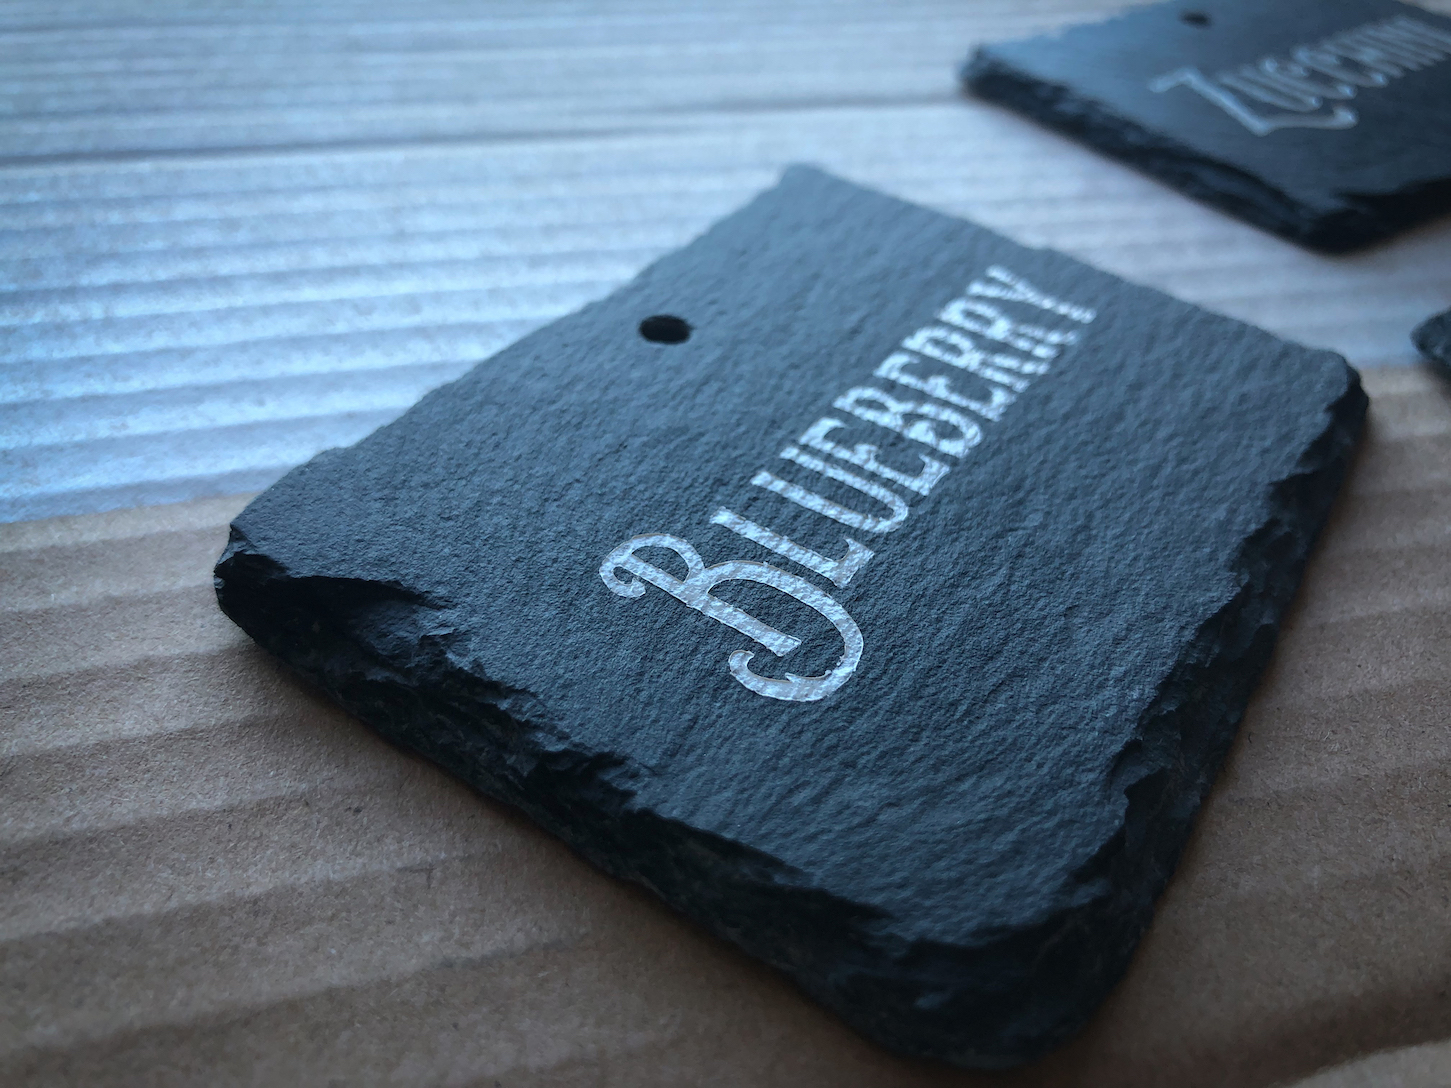
To make them, I cut the names out using my silhouette. I weeded the positive and left the negative. I then put them on the slate tags and taped the edges, and taped them down with painters tape to a flattened cardboard box. I used spray paint and very LIGHTLY and evenly sprayed them. If there is too much paint, it will bleed under the stencil.

They turned out wonderfully!!!

This is a good example of the bleed under the vinyl.

Strawberries

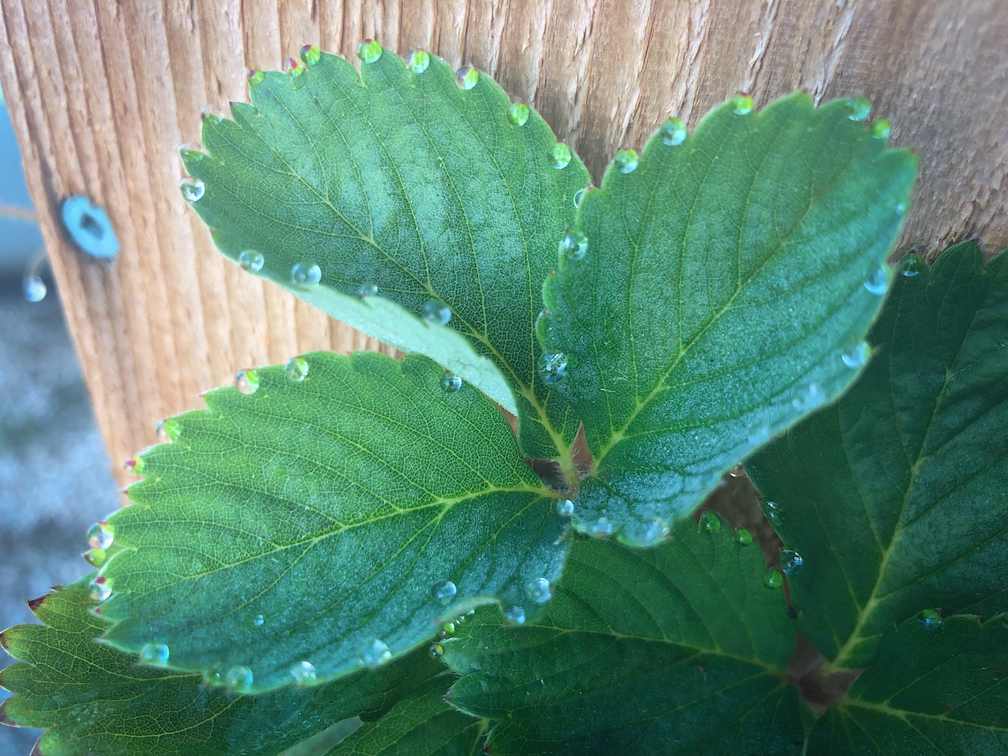
I have always wanted to be able to walk into my yard and pick strawberries whenever I wanted. I am not sure how many strawberry roots I have bought and planted and only gotten a small numbers of berries from…too many to count. I decided this would be the year I was going to concentrate on establishing the roots of some strawberry plants in order to have a bumper crop next year!

After looking at several different plans, I decided to build a tower out of some cedar fence slats I had in the garage. It was pretty simple. I drilled holes in two sides and then put it together with a finishing nail gun and wood glue.

I did put a soaker hose down the middle but it ended up rotting (it was kind of old) and so I pulled the whole thing out. I have read that people recommend a hose or pvc with holes drilled in it to allow water to get to the center. With a tower this small, it is really not necessary.