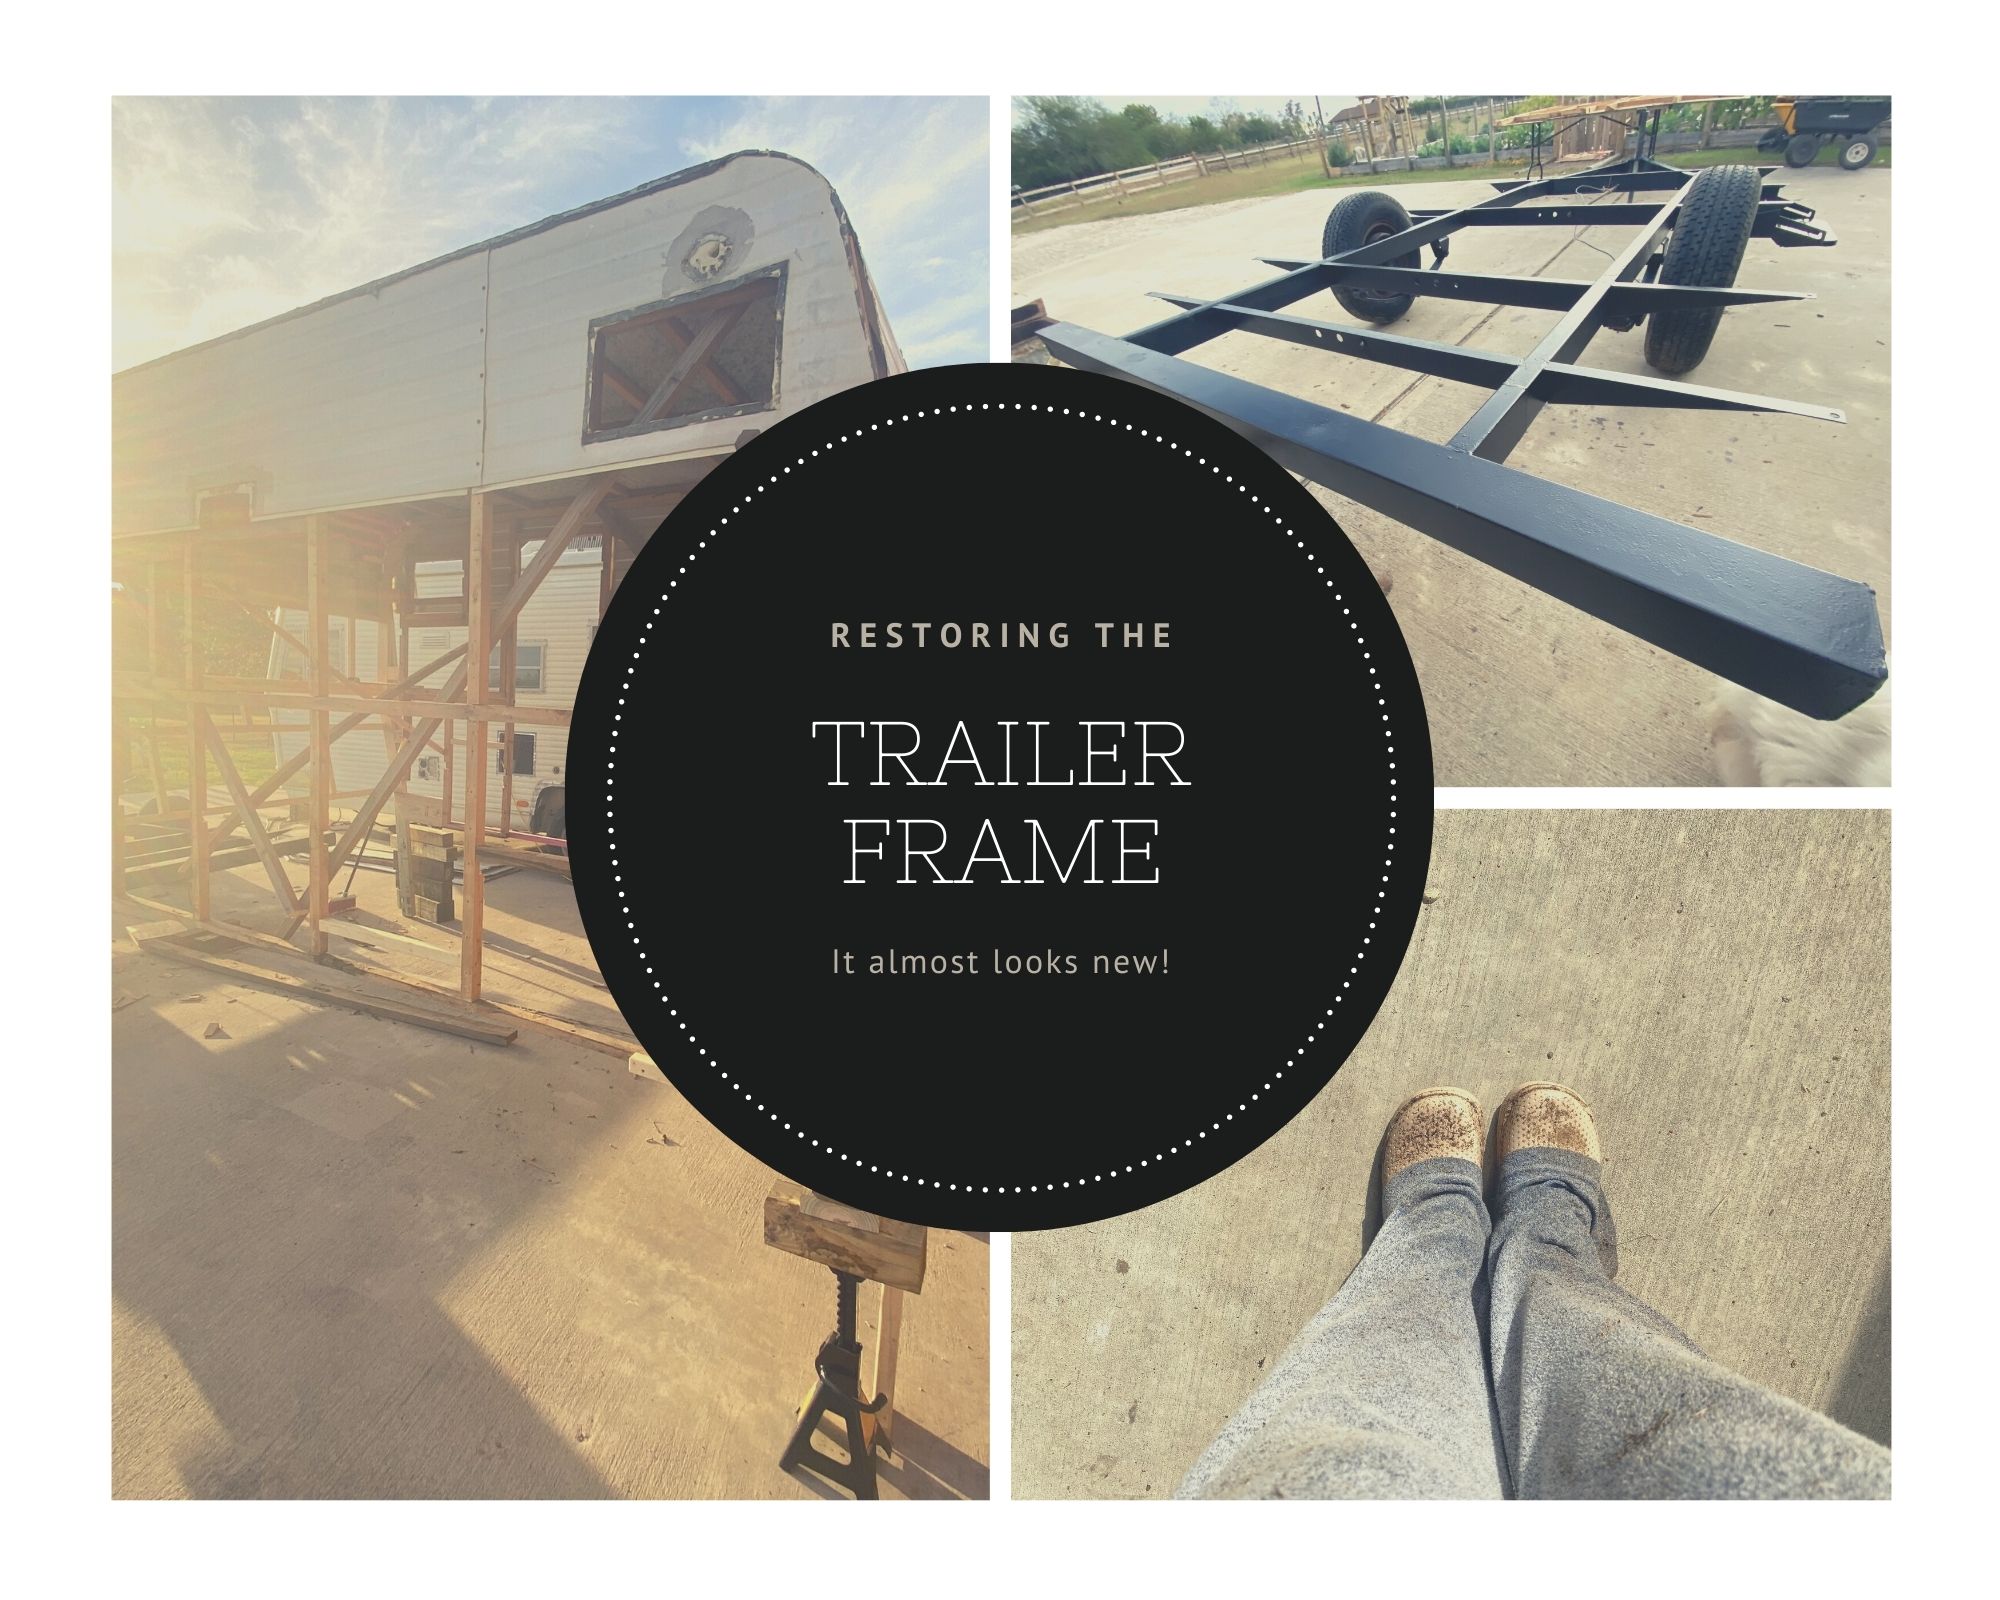
Restoring the Trailer Frame and Floor

Giving new life to a 12′ 1967 Golden Falcon.

The floor was in pretty good shape with only the back portion being a concern. At some point, the back window was leaking pretty heavily and it ruined the subfloor. The window was fixed (sloppy does not even come CLOSE to describing HOW the window was fixed, but it did not leak anymore.) After much discussion, we thought it would be *easiest* to replace the back portion of the floor by lifting the box up and rolling the trailer frame out.

And there you have it! Using scrap wood, the corners were lifted a little at a time until the whole box was able to clear the wheel wells. We attached 2×4’s to each corner as support legs and rolled out the floor/trailer.

Next came the task of attacking the floor. We flipped it upside down on a table and Wade pulled out 8 million staples from the underside. The floor, from the ground up, consisted of a coated cardboard layer, a grid 2″x2″ frame with insulation, and the plywood subfloor…with paper from linoleum still attached.

You can really see the damage on the back part of the floor here. The plan was to replace some of the grid wood that was damaged, add some more support, and replace just this section of plywood.

While Wade worked on the floor, I started on the trailer frame. Rather than investing in a sandblaster, we found a simple attachment for a power washer that turns it into a wet sandblaster. We’ve talked about getting a sandblaster for other uses, but the biggest issue seems to be having a powerful enough compressor to run it. We are not going to use it enough to justify spending what it would take to get a pro model, so this solution worked for what we needed. It does have it’s limitations…like you MUST use DRY, filtered sand (we used filtered pool sand), it still clogs even with filtered dry sand, it uses a TON of sand, the sand comes out sporadically and not consistently…

I will spare you any pictures but you will be COVERED in sand when you are through!
BEFORE

AFTER

We live in the hot and humid south. The morning after sandblasting, there was a nice coat of orange rust. I brushed the frame with a stiff brush and applied this magical stuff called Corroseal. It converted the rust to a metal primer. It was seriously AMAZING stuff! From reading reviews, the biggest thing was to be very generous with the application. It has the consistency of watered down glue, and sort of smells like it.

This was only one coat. If it needs more, it stays this light purpleish color.
This was the 3rd coat.

In the morning, there was some small pinholes of rust. Again, we live in the hot HUMID south. Another coat would have probably been warranted at this point, but I was too anxious to paint!

There was nothing really special about painting. We used “farm implement” paint from TSC. I figured that would hold up just as well as anything! The frame got 3 coats.

We finished up the floor and put it back on the trailer frame.

Repaired wood
New foam insulation

Rather than lining the bottom (road facing) with cardboard, or even tar paper, we opted to use a very thin sheet of aluminum. This would protect the underside from road debris and also keep out critters!

And sometimes…you get the whole thing stapled on and realize you forgot to cut out the wheel well.
Wheel wells getting stapled back down after being painted.

The last part before putting the box back on was to get the paper from the linoleum off of the subfloor. Lesson learned here…spend the money to just buy 2 new sheets of plywood! It is not worth losing your sanity trying to scrap off 50+ year old linoleum glue!!!

It threatened to rain several times so we would put the tarp on…then take it off. It never rained. We left the tarp off…and it POURED the next morning. After the single downpour, the sun came out and with a fan blowing, it dried nicely.

The very last thing before bolting the floor back to the frame and lower the box back onto it, was giving it a good coat of Kilz for its mildew resistant quality.

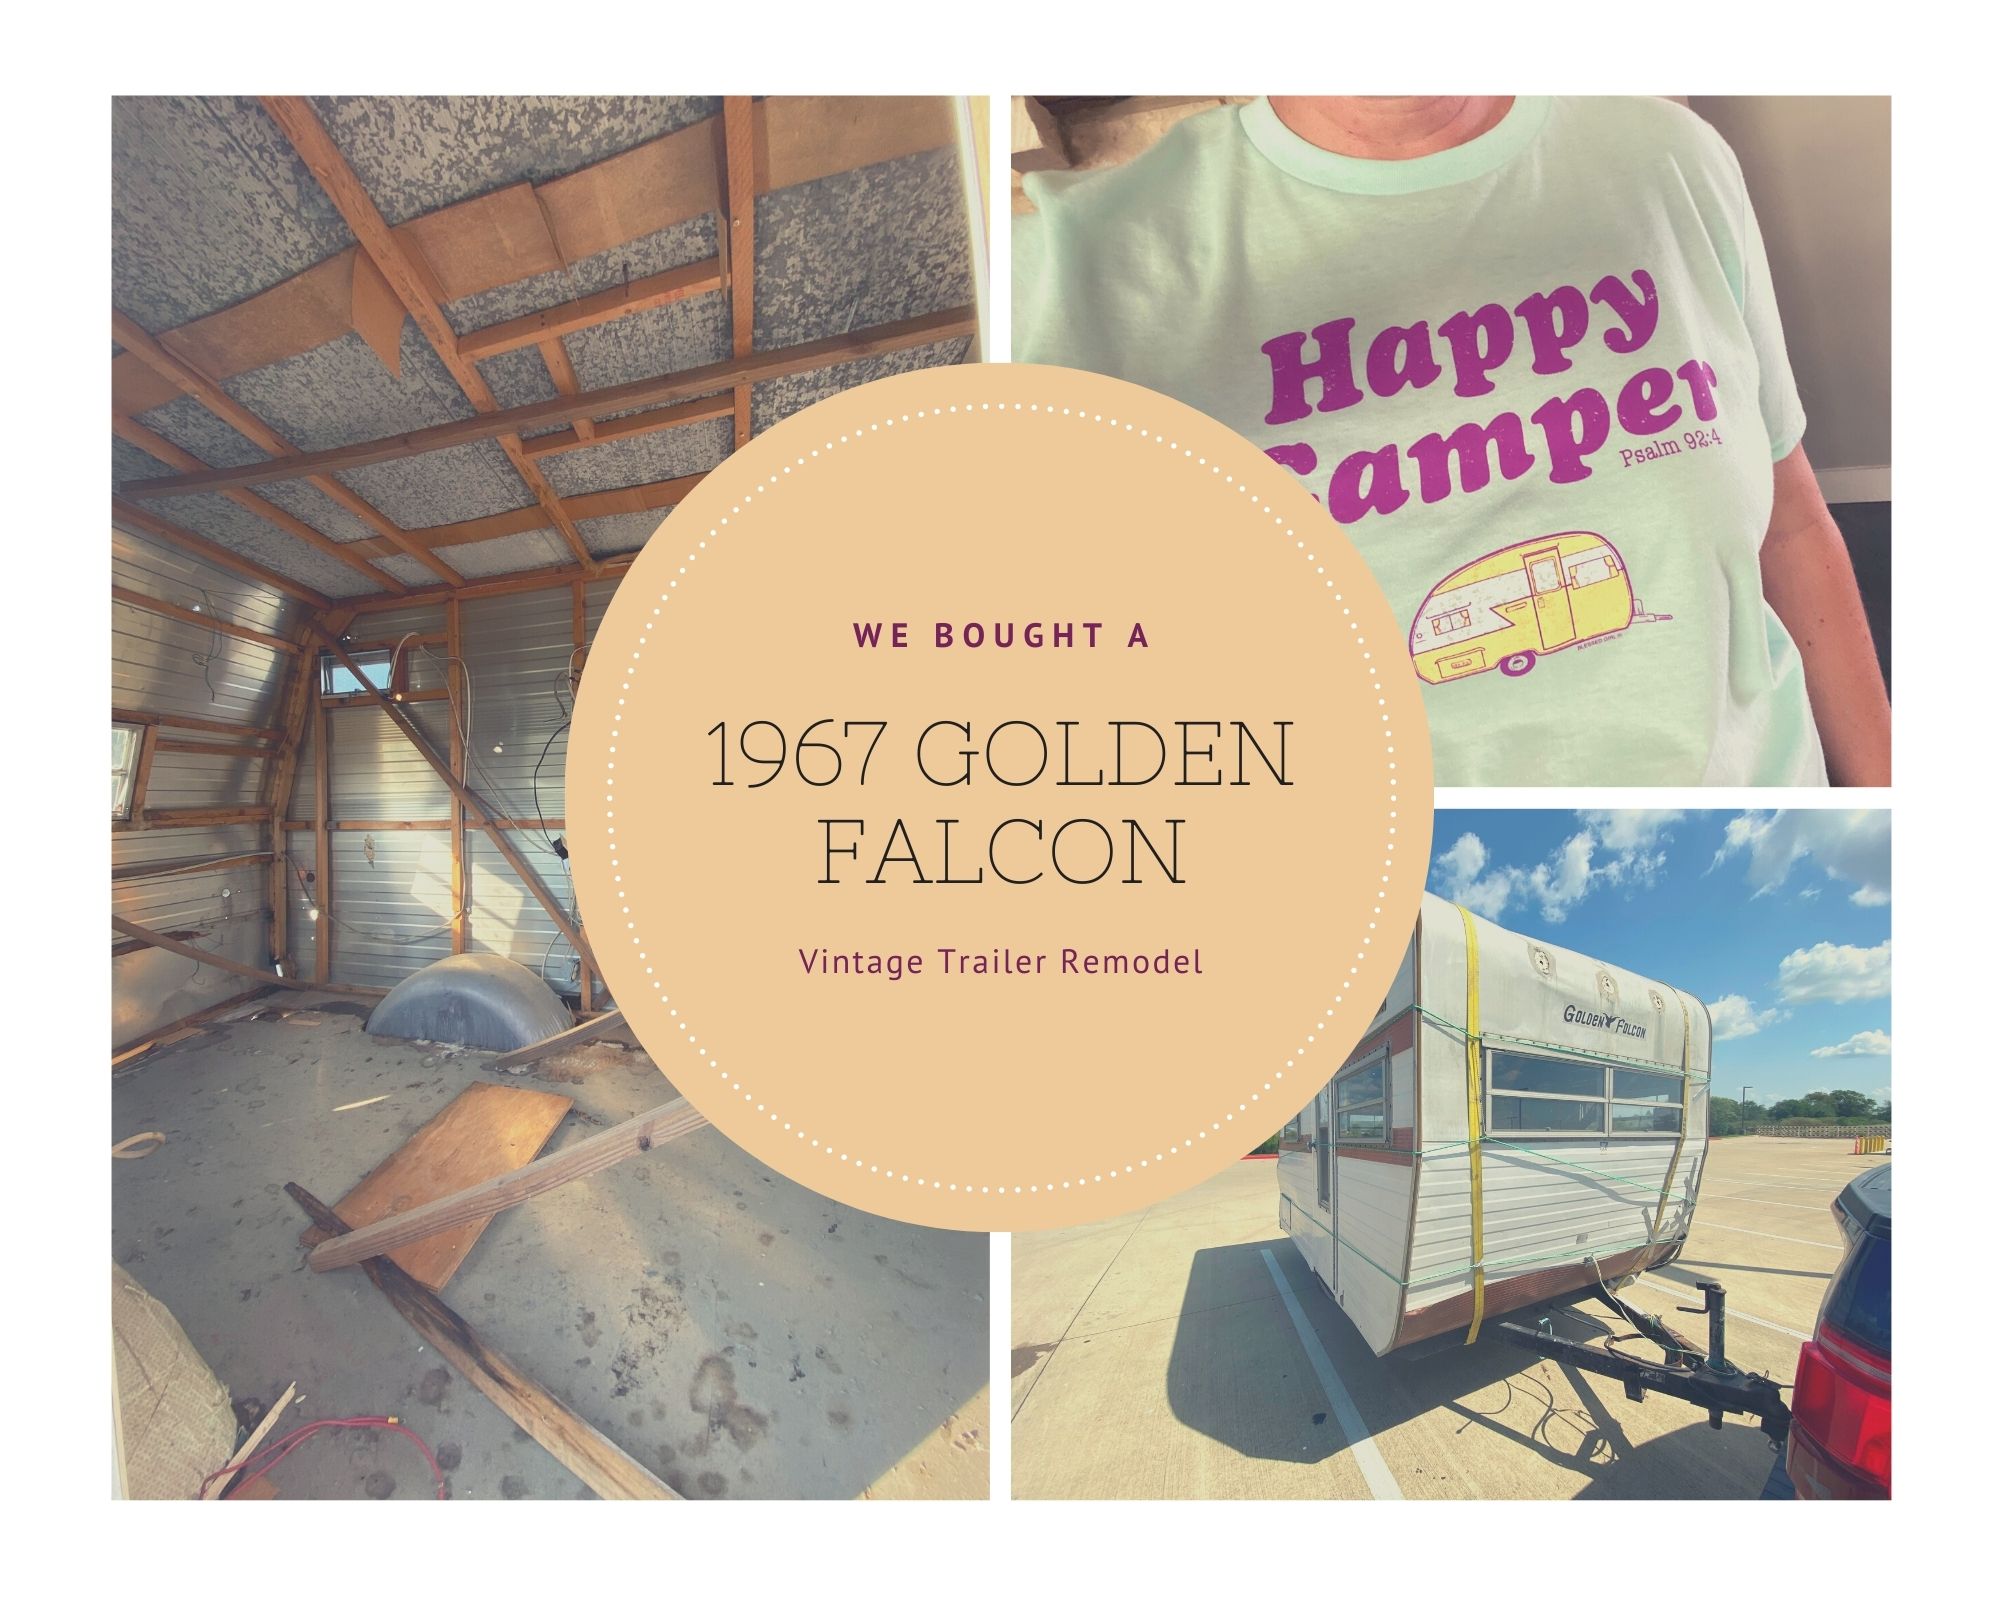
We Bought a Vintage Trailer

During the middle of a pandemic…one of us found ourselves without a job. We have always talked about restoring a vintage trailer…well…okay…maybe it was just me that talked about it.

After doing some searching, it seems there is a current market for restoring vintage trailers. We’ve had our fair share of construction projects…how hard could it be to restore a trailer? I mean really. There is less than 200 sq ft of space, surely it cannot be that hard!

[insert eye roll here]

Lesson #1. Getting your hands on a hunk of rolling junk is almost like day trading. We would find a trailer on marketplace, make an offer, and it would be gone! Our very first purchase, ended up being for two travel trailers, but not this one. This little lady we found just after picking up the other two.

When we went to pick her up, the young, sweet couple was moving and trying to get rid of “stuff” so they did not have to move as much. We took our trailer thinking we would load her on it. The problem is, we have a regular utility trailer with sides. The Golden Falcon would not clear the sides of the trailer. We left her that night and contemplated what to do. By morning, we figured we would just take back roads home (it was only 60 miles) and go very slowly.

We had zero issues.

Lesson #2. Keep straps, rope and duck tape in your call at all times. And spare trailer lights if you plan on day trading trailers.

The inside looked decent. There were a few rotten spots, but nothing that could not be fixed! All of the windows were intact with only the door window being broken.

We don’t know much about these things, but figured we could learn as we go!

*We think that this particular Golden Falcon was manufactured in Canada.

Garden Update

It is the beginning of November.

Temperatures- Highs this week are mid 70’s and lows in the 50’s.

We have very hard well water. The water that goes to our house goes through a softener and is filtered. The hose water comes directly from the well. I have come to the conclusion, new hoses, sprayers, connectors, etc… have to be replaced on a yearly basis because of this.

I got into the garden and replaced all of the irrigation sprayers that were now a year old.

Carrots were planted a little later than I had hoped. I really wanted the seeds in the ground mid-September, but it was more like mid-October. I will plant more every few weeks so they can be pulled at different times.

I am pretty sure this is not broccoli. Some of the tags got mixed up…but I will just let it roll…

All of the cabbage looks great. They take up SO.MUCH.ROOM. I only have about 6 planted…that means only 6 heads to eat. If you think about trying to live off of what you grow, that is not much at all.

Got a little side-tracked making my way around the garden…found this Texas Brown Snake (Storeria dekayi texana). They do not get much bigger than a pencil. They like to eat slugs, snails and other insects.

I was able to grow 1015 onions from seed last year and they did really well, so I am trying again this year. I start the seeds inside mid-summer. It takes about 2-3 months before they get big enough to transplant, and even then they are still small. The most important thing with starting from seed, they need to be watered regularly since the roots are so shallow and it is still warm out. The dirt dries quickly on top.

Last year, I had an excellent crop of tomatoes. At this time, they were covered in fruit. And then…we had a light freeze and I lost ALL of them. 🙁 This year, they are not doing well. I only have 5 plants of tomatoes and they are just now getting blooms on them. I am afraid I will not get any tomatoes this fall.

The peppers were started back in March and are still going strong so I have just left them. I probably need to make pepper jelly with them!

Like broccoli, I do not have much cauliflower growing. I direct sowed a few more seeds, but they are growing pretty slowly.

Eggplant is also going strong and we get about 10 each week (way more than I can eat since I am the only one that likes it).

I was able to harvest about 2 cups of raspberries! This is the thing I am most excited about! Raspberries do not do well this far south (9a). I did some research and found this variety that will tolerate the heat. Unfortunately, I threw away the tag and have no idea what kind they are!

NaNoWriMo

NaNoWriMo is a 501(c)(3) nonprofit organization that provides tools, structure, community, and encouragement to help people find their voices, achieve creative goals, and build new worlds — on and off the page.”

I used to be pretty good at writing regularly.

Then I got this crazy idea to work on a PhD and my “for fun” writing went out the window. I got to the point where I despised having to write. I never finished my dissertation. Yep, I am ABD (all but dissertation). One of the few things I put my mind to but failed. All was not lost. In the process I learned how to research and GREATLY improved my writing skills.

I have so many ideas in my head that I want to write about, but have struggled to get started.

I am probably not going to write a novel this month…

But my goal is to write a blog post every day in November. Hopefully that will kick-start me back into writing regularly. Although I am not using NaNoWriMo to do the writing, I love the organization and spirit behind it!

Go check them out…maybe you can write a novel this month!

😉

You only need one luffa seed

You only need one luffa seed to feel like a master gardener.

Luffa, sometimes spelled loofah, actually refers to the fruit of the vine. Luffa aegyptiaca is a member of the cucumber (Cucurbitaceae) family. It can be eaten in the young fruit stage, or it can grow big, allowing an intricate network of fibers to form that are commonly used in the kitchen or bathroom as a scrubber sponge.

And you just thought it was a sponge from the ocean!…

This vine is particularly in love with the hot and humid regions of the Gulf Coast areas of Texas. It seems like the hotter it gets mid-August, the more the plant thrives (as long as you water it every once in a while).

The cool thing about luffa, is that it only takes one seed to look like this.

Yep. This was 1 volunteer seed that found its way to this raised garden bed. Luckily, I knew what it was, so I allowed it to stay and grow.

In the morning, the flowers open up to attract pollinators.

In the evenings, the flowers close up and actually fall off.

Do you see the flower buds on this one?

Luffa has a very long growing season. I typically plant mine in March and I do not usually see fruit until July. To save you from having to do the math, that is about 150 days from planting seeds!

Can you spot the long fruit hanging down?

I stumbled across luffa seeds some time ago (like 2004ish). At the time, it was not popular to plant and there was little information about how to germinate them. I did what any good gardener does, I threw it in some dirt, and holy Batman! I can now feed the entire town with the number of seeds I have collected over the years.

Baby luffa

A few things I have learned after growing them for several years:

*Growing luffa in the south is very different than growing in the north. We can basically ignore the plant and it thrives. No babying here.
*Direct sow is the best way to plant. I have yet to transplant luffa successfully.
*Due to the very long growing season, it is more difficult to grow up north.
*One vine will TAKE OVER. Be prepared. It is seriously like Jack and the Beanstalk.
*Bees LOVE the bright colored flowers on luffa.
*You must be patient and let the luffa dry on the vine. Do not pull it up and try to dry it inside. You will get a moldy mess.
*Luffa is pretty bug resistant (except ants seem to love the flowers) and the plant is very forgiving if you forget to water it.

So what do I do with all of the luffa that I grow? Make soap scrubbers of course! Read about that here–> Luffa Sponges